
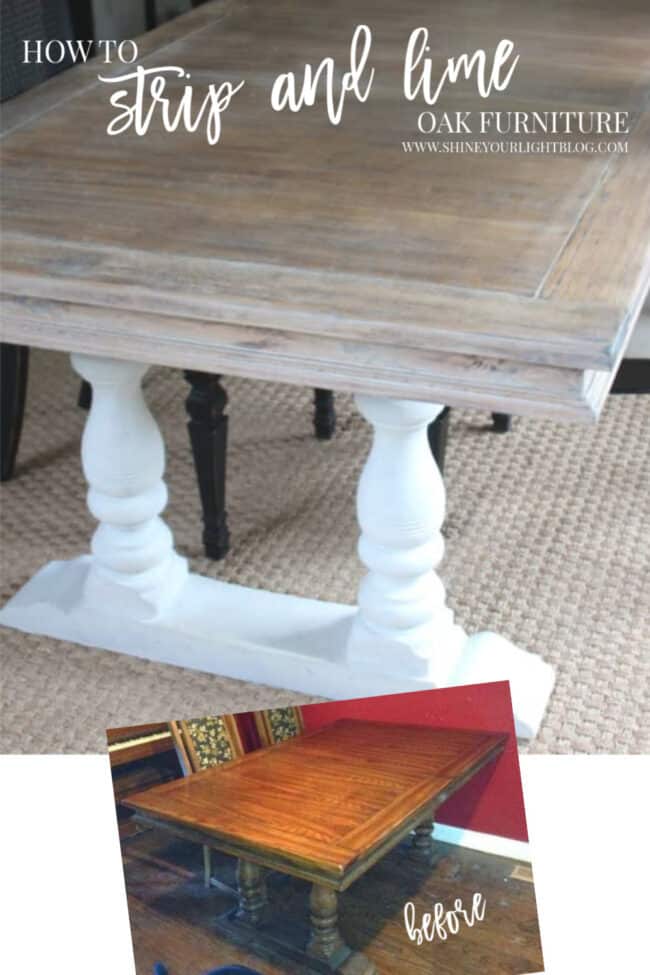
Lime Wash Dining Table
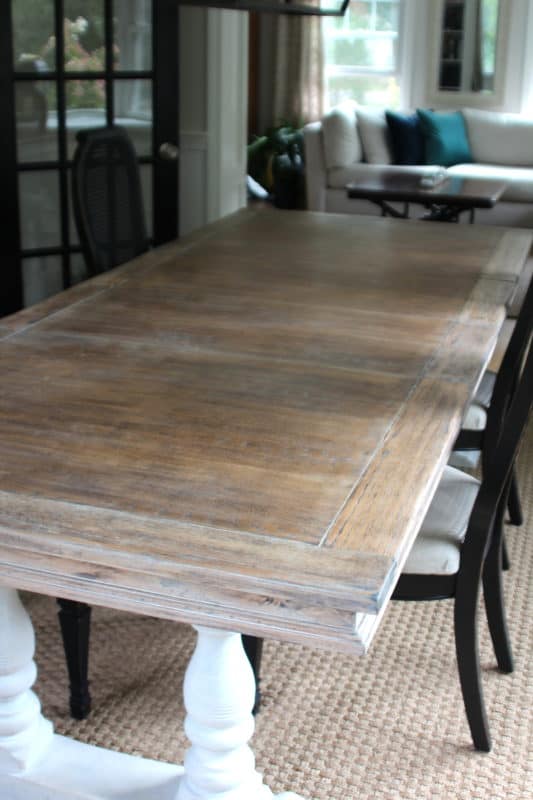
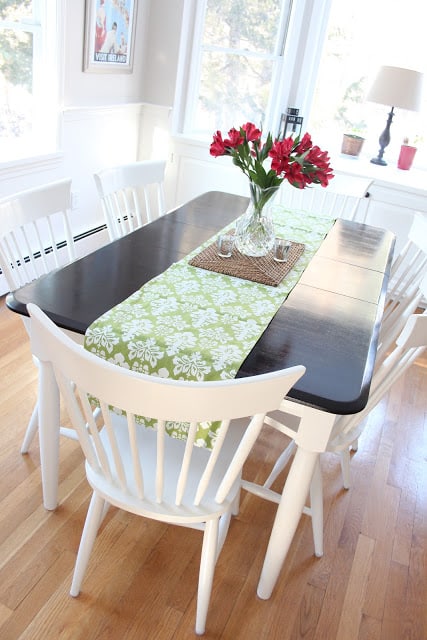
Last week I told you about our table that went from dark and delicious to light and bright.
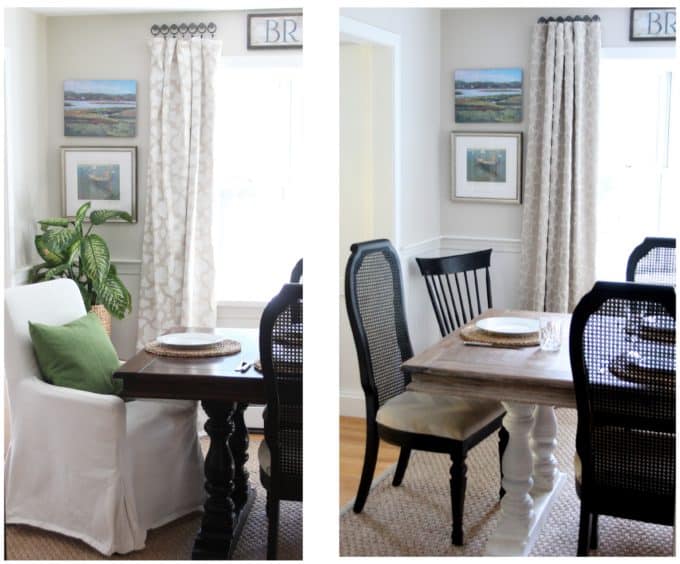
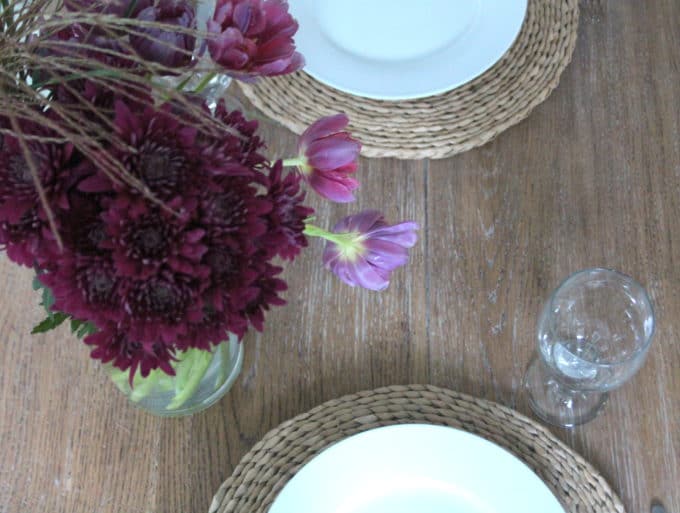
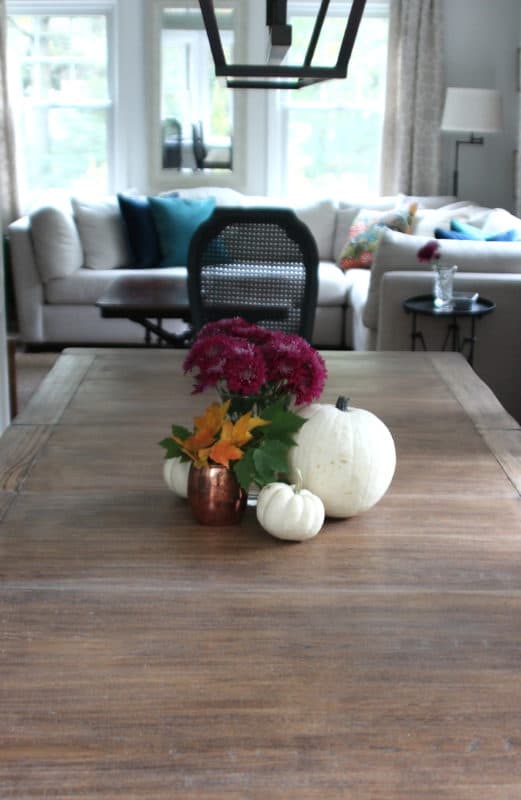
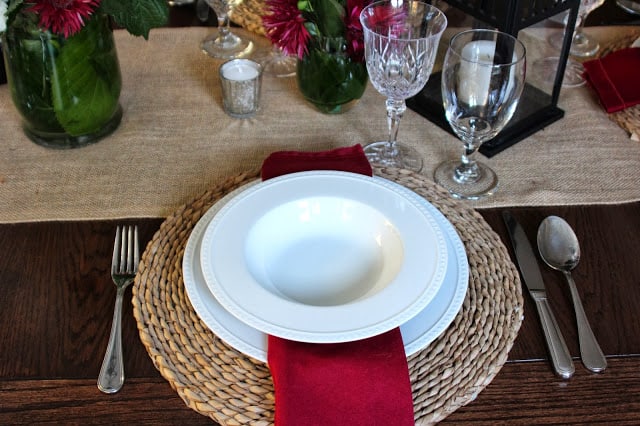
I like both versions, but the lighter finish and more casual vibe definitely work better in our home where we use this one table for everything from daily meals, work and homework, to holidays and special occasions with our family and friends.
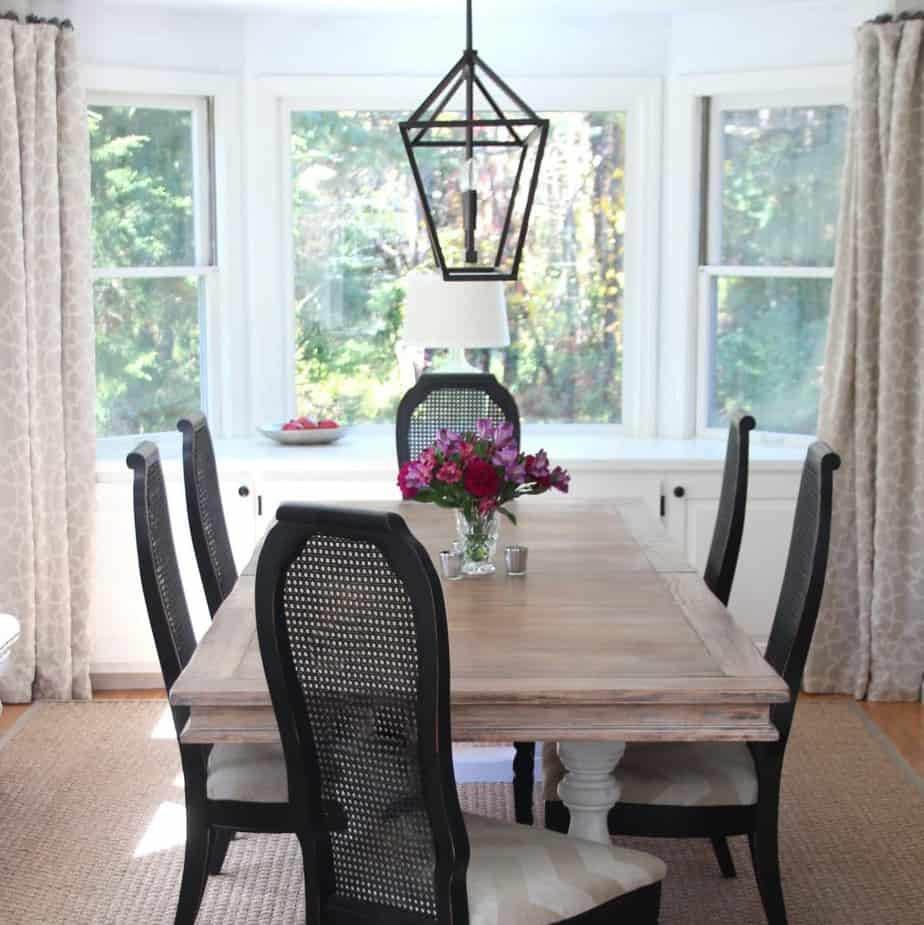
Here's how I lightened up our table while preserving some of the patina from it's 50+ years.
Affiliate links are included in this post for your convenience. Read more about affiliate links here.
1 | Strip off the original finish. You need plenty of ventilation for this step so a garage or driveway is your best bet. If moving your piece of furniture is too difficult, make sure to cover your floors with plastic tarps really well, and open all the windows.
My favorite stripper is Citristrip. I've used different brands of strippers over the years when I couldn't find this one and nothing works as well in my experience.
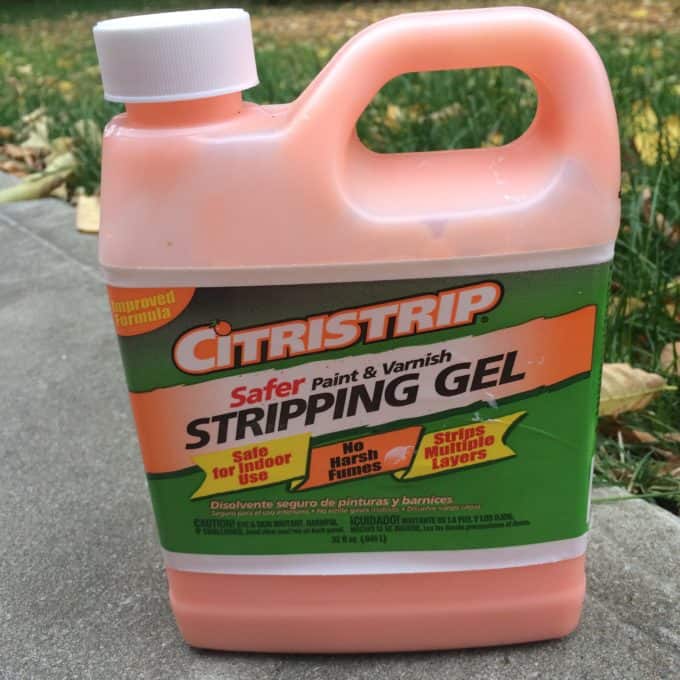
This is a gel-based stripper that you apply with a cheap paint brush, allow to sit for 30 minutes or so, and then scrape off with a painter's putty knife. I apply a good thick coat of stripper so it stays wet while doing it's job – if you see it starting to dry in some areas, hit it with some more stripper. Wear rubber gloves and try not to get the stripper on your skin. After it's had a chance to work, scrape it off and into a bucket or plastic bag so the gross finish and stripper will be easy to discard. Keep in mind this is a MESSY job but it will be worth it in the end!
2 | Round 2 of stripping, if needed. After you've scraped all the stripper and old stain/paint/varnish off, reapply the stripper if areas need some more scraping.
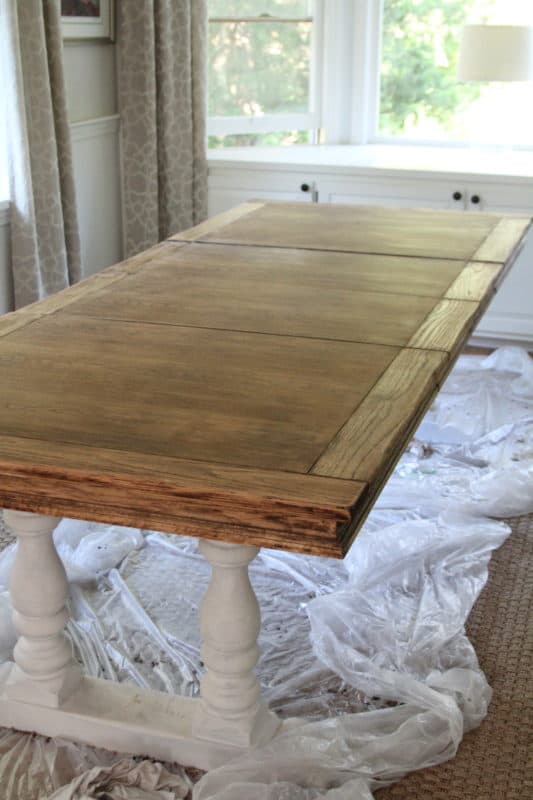
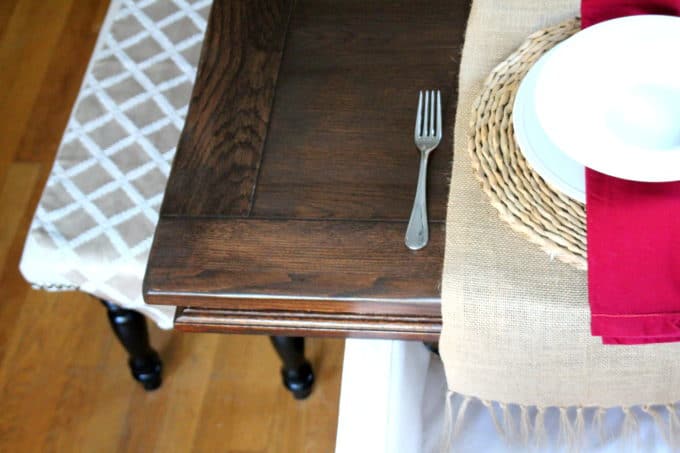
Unlike the first time I stripped this table, on this go around I did not take it all the way down to it's raw state. I wanted a bit of the walnut stain to remain for a little patina, so I didn't go crazy getting it out of all the nooks and crannies. I was actually tempted to leave it just like this – kinda reminds me of a handsome, rugged cowboy, no???? #easilydistracted #limedoaklimedoaklimedoak

Okay where was I 🙂
3 | Clean the stripper off. When you're satisfied that all the old stuff is off, it's time to clean all the stripper off the table. Pour mineral spirits on a rag and wipe down the table, then use a nylon scrub brush to wash the table in one direction to remove all the stripper from the grain. After cleaning the piece with mineral spirits, let it dry completely.
It might be helpful to have another tarp to put down at this point. The first tarp gets pretty gross from the stripping process!
4 | Sand the table lightly. I gave the whole table top a light sanding with coarse sandpaper and then followed up with a fine grit. If you want to make sure your table is completely down to raw wood, you can use a palm sander to give it a deeper sanding (wear a dust mask!)
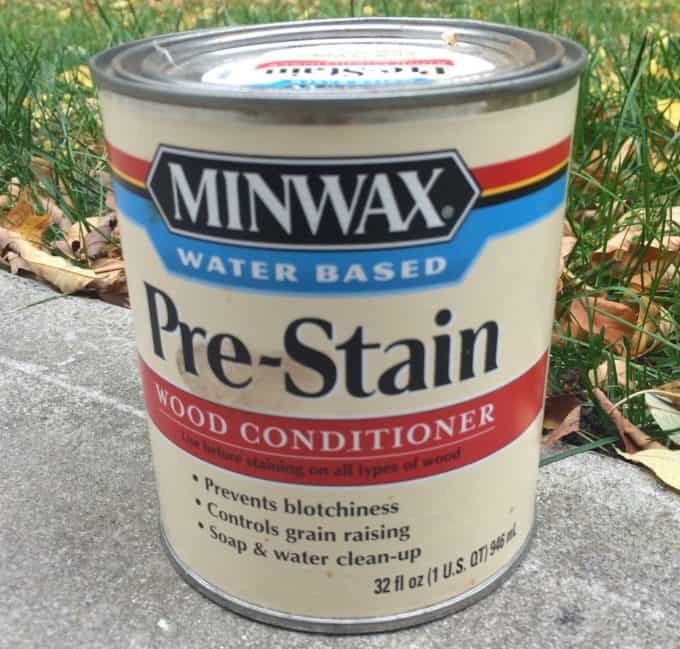
5 | Coat the table with wood conditioner. This will help the stain to take evenly. You can apply it with a nylon brush or a lint-free rag. Let it set for 10 or 15 minutes, then wipe off any excess, and you are ready to stain!
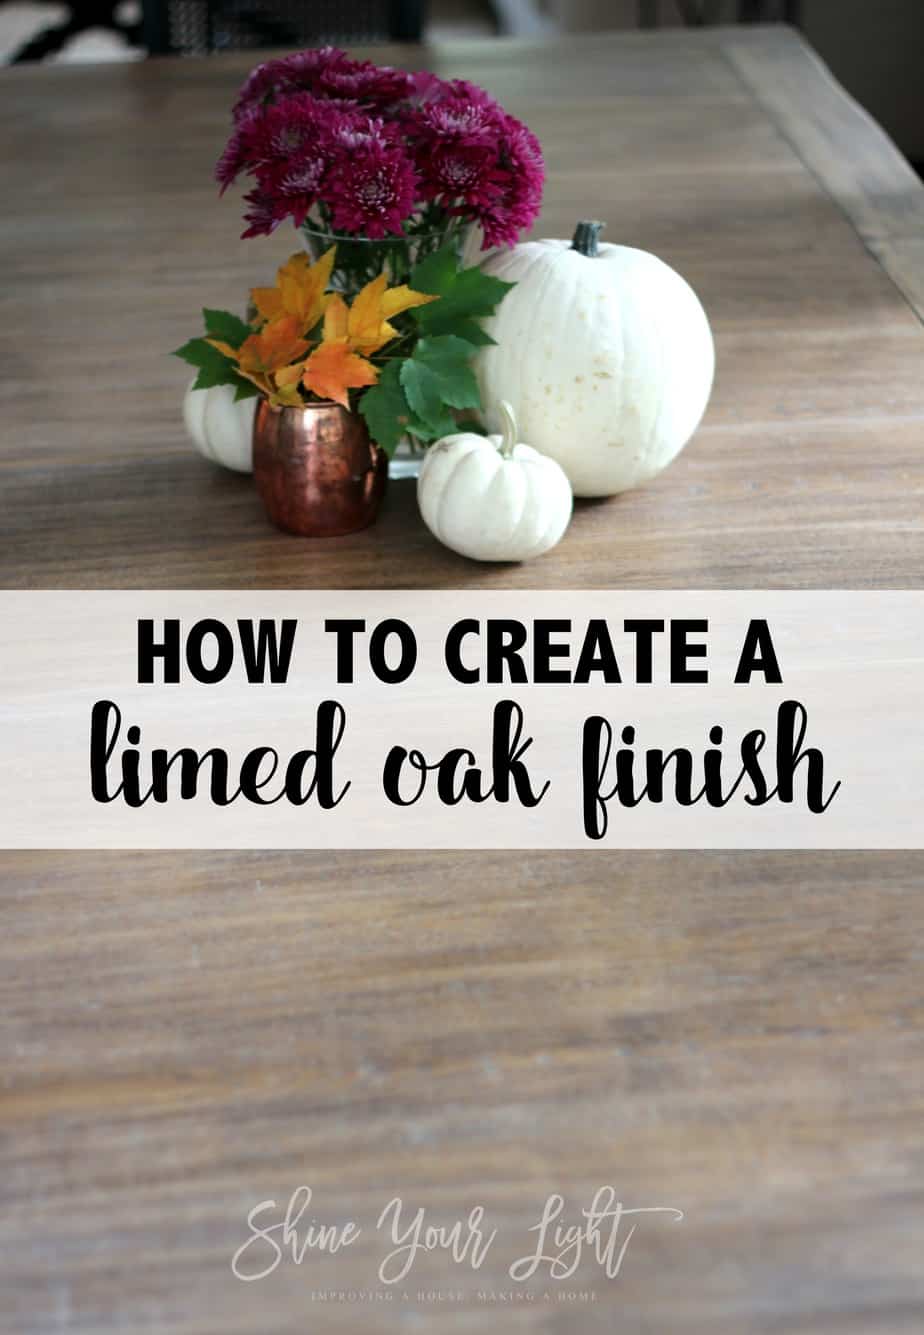
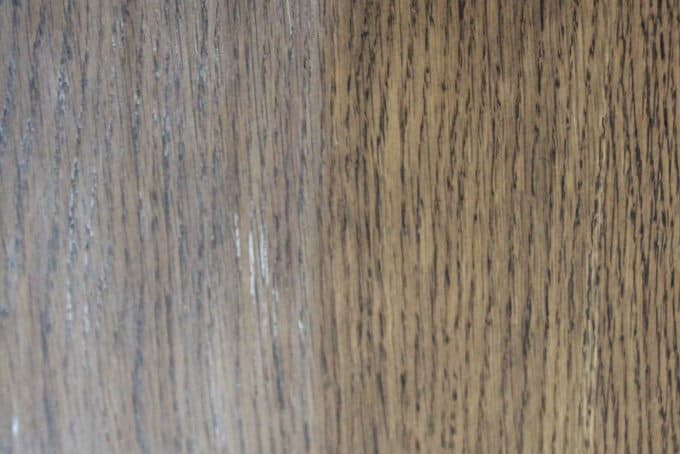
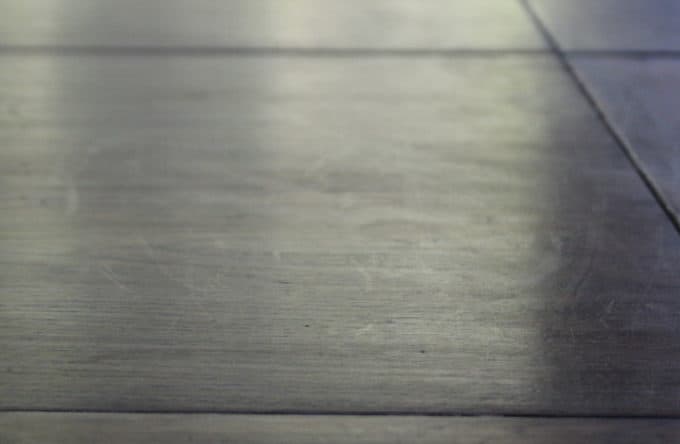
6 | Stain the wood. My favorite part! I love seeing how a stain takes to a certain species of wood. I hadn't used the Weathered Oak stain yet either and so I was all fired up for this step.
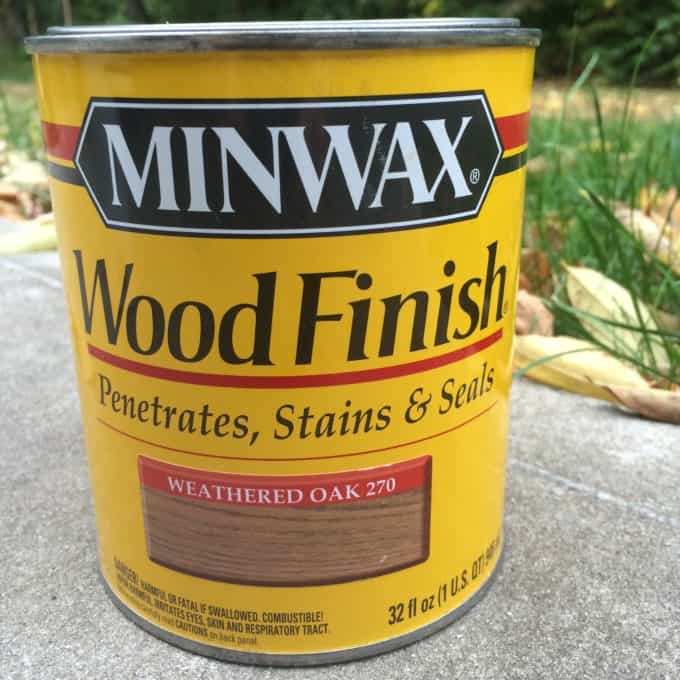
This stain has a bit of a grey cast to it, so with one coat it turned the warm, light oak just a shade cooler.

It was a bit blotchy even with the wood conditioner, because I intentionally didn't get off every bit of the walnut stain. I was okay with this but I want to point that out to you – if you're not going for a "patina" make sure all the original finish is off before conditioning and staining.
7 | Apply the liming wax. When your stain has dried completely, scoop out a bit of the liming wax onto a soft cloth and rub it into the wood in the direction of the grain. The liming wax is soft and easy to manipulate. Go all Karate Kid here – wax on, wax off. I would work it into the grain and then use the palms of my hands against the cloth to really bear down and lift some of the white off.
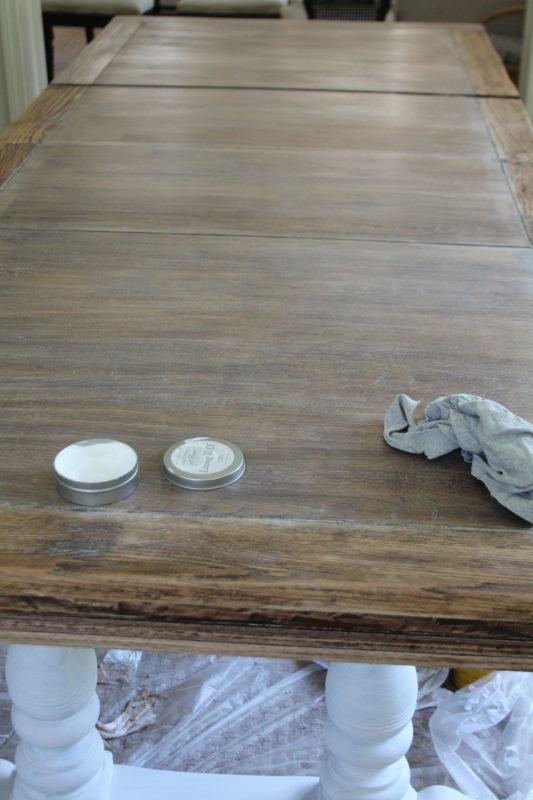
It looks reallllly white at first. I was not loving it at this point and wondering if I had made a mortal mistake.
But….I did love how the liming wax looked in the grain and in the lines of the apron all around the table…..


The trick is to rub it into the grain and then put a lot of elbow grease into wiping the wax off the surface as much as possible.
8 | Apply the Light Antique Wax. This made the whole finish come together for me. The Light Antique Wax is caramel colored. I found this wax to be brittle and hard at first, but once I started working it into the wood it softened up and became more pliable.
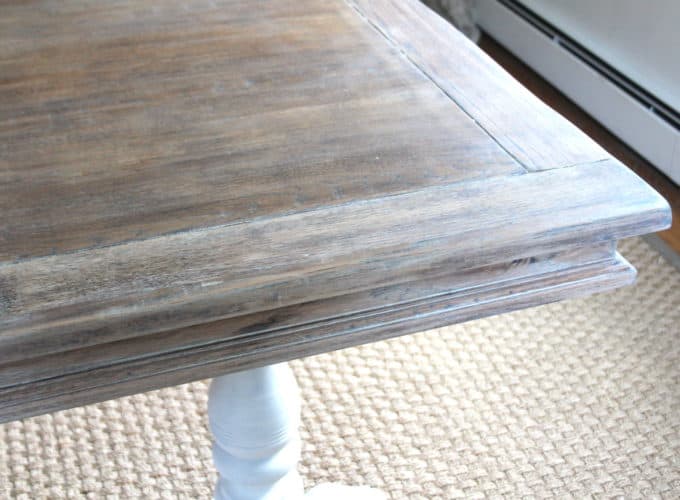
To apply this wax I placed a piece on my cloth and then rubbed it onto the table, going with the grain. Layered with the white it gives the finish dimension and balances out the white cast of the liming wax. I know – cover up the warm with white, then bring back the warm with this wax. But the end result is really pretty – not too white, not too warm, weathered and beat up in a good way. In my case I also like that the dark walnut is still in the nooks and crannies too.
To Seal Or Not To Seal?
Although wax is considered a sealant in and of itself, it's not very durable for a dining table that sees daily abuse from a family of five. Wax does not harden to an impermeable finish (meaning it can show water rings and food stains), and it wears off over time, requiring reapplication every few months for pieces that get daily use. My main issue with wax is that in certain light you can see every mark, even if you wipe down the table with a cloth. Who wants to worry about the finish on the table you eat at and work at every single day? Not me.
I have read that polyurethane or polycrylic CANNOT be applied over a wax finish since the wax will repel the liquid. I have also read that once the wax cures, a sealant CAN be applied, so I decided to give it a try with excellent results! SO – if you want the look of the layered wax but the durability of poly, I recommend it following the method below. Keep in mind that poly can yellow finishes – in my case it gave the table a slightly warmer tone but the liming is still very apparent. I like Minwax Wipe-On poly for wood furniture because it can be applied with a rag and doesn't leave brush marks. If you're concerned about yellowing, try Minwax Polycrylic. It has to be applied with a brush but stays clear.
8 | To apply sealant: Allow the wax to cure for a few days, then give it a light sanding with fine sandpaper. Using a lint-free cloth apply wipe-on poly with the grain of the wood and allow to dry completely. For added durability, multiple coats can be added; lightly sand with fine grit sandpaper between coats.
My table was dry and fully cured within a day of coating with poly and now I don't have to deal with the scuff marks from the wax.
9| Painting the table base. For those of you wondering about the paint I used on the pedestals of the table, it is Amy Howard One Step in Bauhaus White.
So there you have it friends!!
One table two ways in three years 🙂
SUPPLIES
Citristrip Gel Stripper
Minwax Weathered Oak stain
Minwax Pre-Stain Wood Conditioner
Amy Howard Liming Wax
Amy Howard Light Antique Wax
Minwax Wipe On Poly or Minwax Polycrylic
Amy Howard One Step Paint in Bauhaus Buff
Scraper (removing old finish)
Nylon Paint Brush (applying wood conditioner)
I hope you enjoyed this tutorial! If you're interested in more furniture flips, check out these projects……
Craigslist Table Makeover (the first time!)
Kitchen Table Makeover
TV Armoire Repurposed Into Bar Cabinet
You can find more thrift store flips and DIYs in theFurniture Gallery!
Thanks for checking out this tutorial today!

PIN TO SAVE!
Source: https://www.shineyourlightblog.com/how-to-lime-dining-table/


0 Komentar